Part 2 : The Shop, Storage and Save Menu
In our inventory system we use the Inventory Component whenever we need a group of items in the scene. That means we do not only use it for the characters, we also use it for things like the shop or storage.
Let's start with storage since it is very simple.
In the example above we display two inventories, the character inventory on the left and the storgat inventory on the right. Since the storage uses an inventory we can add items to it directly in the inspector before the game starts. When selecting an item and quantity all we have to do is call:
C#:
m_CharacterInventory.MainItemCollection.GiveItem(
                    m_SelectedItemAmount.Item,
                    m_StorageInventory.MainItemCollection,
                    quantity);
This says that the character inventory should give the selected item and quantity from its default item collection to the storages default item collection.
If you were to have a different item Collection type for the storage inventory you could easily make a small character inventory with an item amount limit of X and have a big storage have a limit of Y.
The shop requires a bit more explanation since it is a bit more complex. Let’s first start with currency. As you saw in the previous post, Currency can be defined in the editor window. You can choose how much a currency is worth compared to another and the system will figure out the rest. You can also specify an overflow and fraction currency so that a Currency collection can automatically convert currency amounts for you.
In the image above we see that 1 silver is equivalent to 100 bronze and 0.01 Gold. We can also see the Overflow and Fraction currencies in the relationship window.
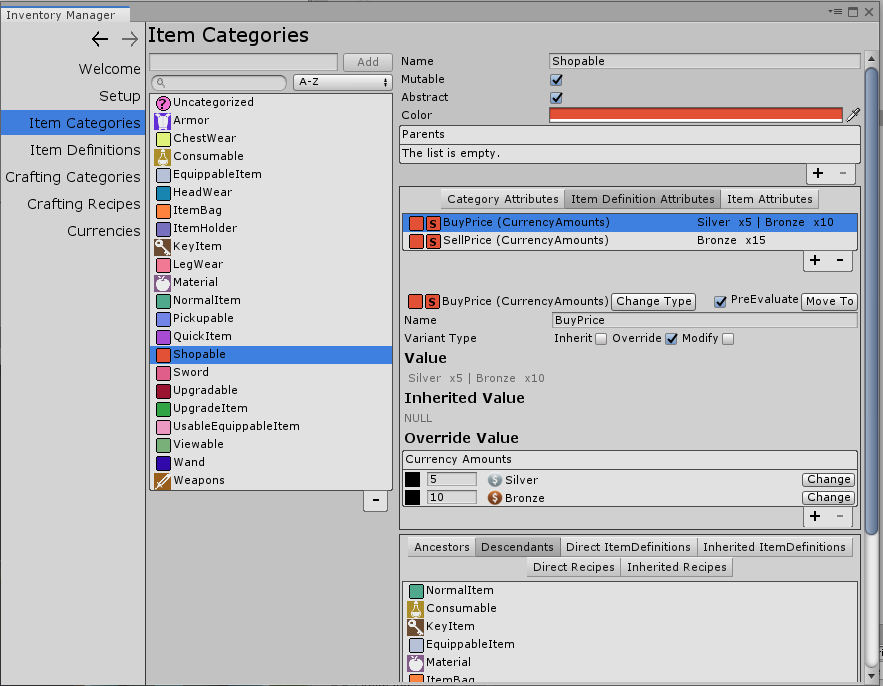
So how do we give a price to an item? That is fairly easy thanks to the attribute system. Simply add an attribute and select the CurrencyAmounts type.
In the demo we use an ItemCategory called shoppable which lets us know what item can be bought and sold. We have two attributes BuyPrice and SellPrice, you can have a single item price instead, it is completely up to you.
In the demo most of the items inherit the Shopable attributes since it is a parent of “Normal Item”. In the image above you can see that Shopable has quite a few Descendant categories.
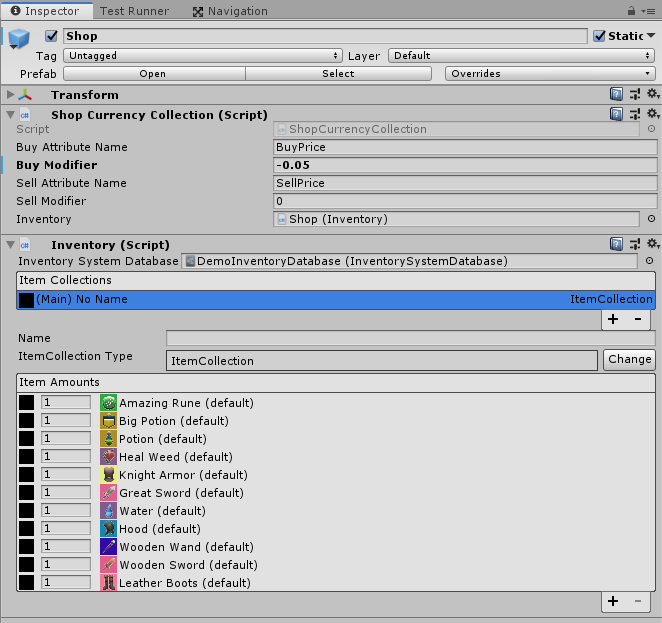
Once the items have a price we can specify the name of the attribute we just created in the Shop inspector:
As you can see we give it an inventory with the items that will be sold by the shop and we can even set a buy and sell modifier to raise or lower prices.
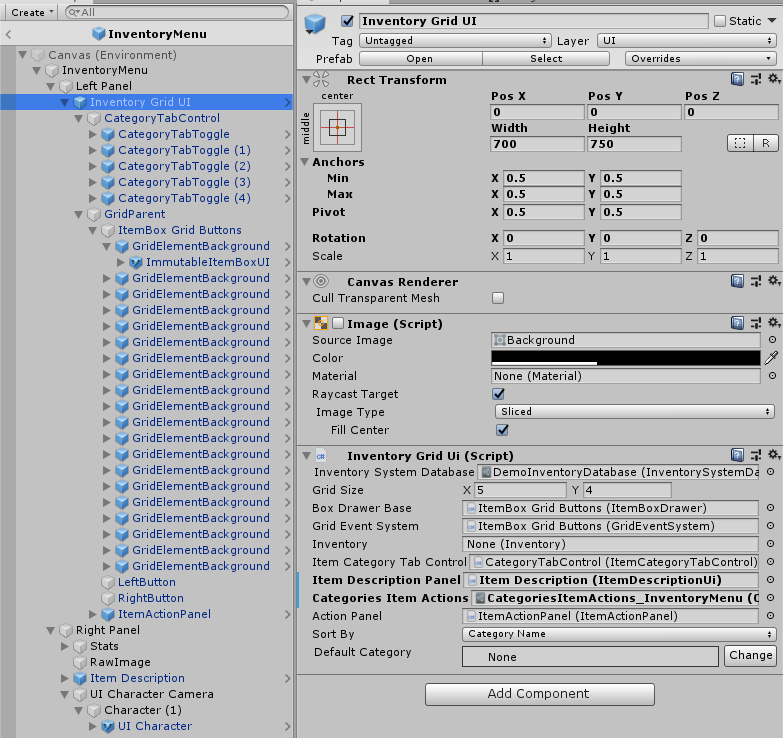
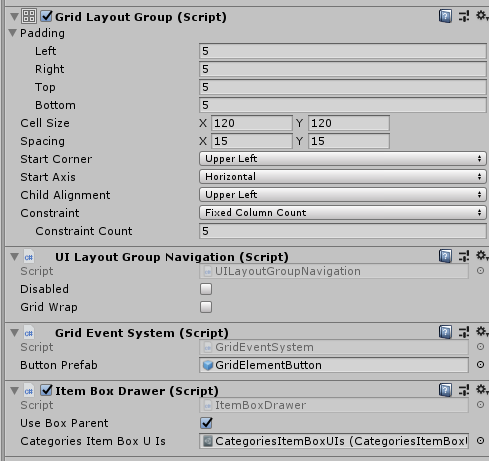
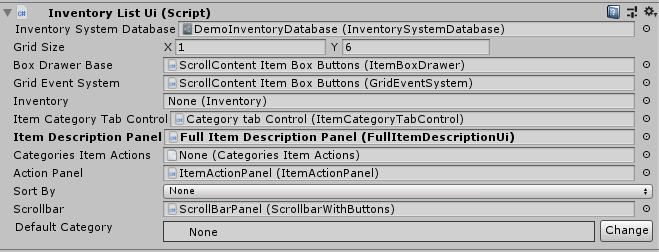
With the items and shop set up correctly, the next step is the shop UI. To change things we will use an inventory List instead of a Grid. The only difference is that you can specify a scrollbar.
It hardly gets easier than that. Of course you’ll need a different set of item boxes to display well in a list instead of a grid. In addition, the shop item boxes will need a way to display the price. The catch is that we cannot display the item price directly, we need to display the price after taking into account the shop buy sell modifier.
That’s where the box drawer events come in. We have an event before an item box is drawn and another after. By listening to the after draw event we are able to get the item box with a reference to the item within the shop ui. Then it is a simple question of getting the Currency UI from that item box and displaying the items modified price.
To make it very clear, in the demo we show the modifier value in the top left of the shop menu. We also display the base item price in the item description. Have a look:
The shop component is very extensible. There are a few things you can do to make the shop component your own. You could make the shop remove its items when they are sold, instead of giving the player duplicates. You could add the items the player is selling to the shop inventory.
You can even have a buy and sell price specific to each character, for example you could have an equipment that reduces price in a shop when equipped. Putting these ideas in practice would require a bit of custom code but they could really make your games stand out as unique.
One of the features people have been requesting a lot is saving and loading. We made a very simple saving system that is extremely extensible. There are three components to it. The save data which you will save and load from disk, the savers component which says how some data will be serialized and deserialized and finally the save manager, which uses all the saver components in the scene to create the save data or split the save data and send them to the appropriate saver component.
So saving an inventory or a CurrencyHolder is as simple as adding a sibling component called Inventory Saver and CurrencyHolder Saver respectively.
You can add any number of save components to save all the components that need saving/loading. You can even set if it automatically saves when the application quits or load when the game starts.
You are free to make your own saver components in the case you would like to save things unrelated to the inventory system. The saver system uses the Opsive Serialization class which can serialize and deserialize most classes.
With how the demo is set up we can save and load the characters inventory with equipment and the storage. We could just as easily save the chests inventory and anything else really.
Here is the save load in action.
Watch "Save Menu 2020-03-31 15-05-24" on Streamable.

streamable.com
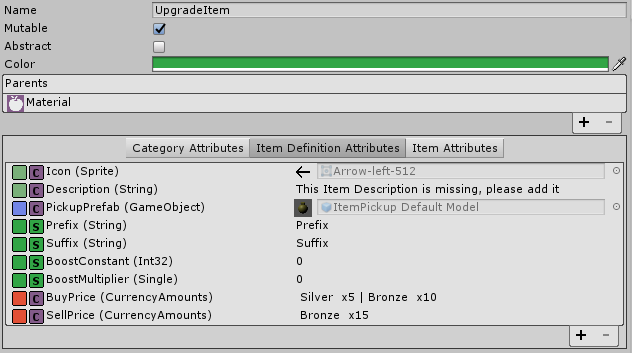
You may have noticed a sword which was a little different in one of the loaded save files. That was an upgraded sword. The way upgrades work in the demo is that we add “upgrade” or “rune” items to a weapon or armor. This increases its stats in some way. And as you saw the upgraded weapon was saved/loaded with nested items without issues.
That is all for today. I hope you enjoyed what you saw today. Tomorrow we will dive into crafting and item upgrades. These subjects can be quite complex and you’ll see that we give you solutions for simple cases, but the real strength comes from extending the systems we put in place to create something really unique.
")